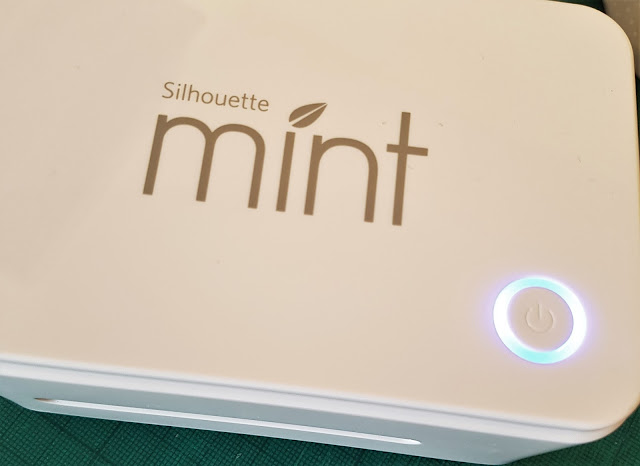
Hi! Bev here with a Silhouette Mint™ tutorial. I love using the Mint for any stamps that I would like to mark reoccuring events in my planner. This one for example. Work is a word I am over using at the moment, so it seemed appropriate to make a stamp for it.
What you will need:
- Silhouette Mint™ Machine
- Stamp Sheet for Mint
- Silhouette Mint Inks
- Scrap Paper
Open a fresh page in your Silhouette Mint™ Studio and select the size stamp you would like to use. I chose the smallest stamp which is 15mmx15mm.
Using the text tool, type work in your chosen font. I used Miss Elizabeth which is available in the Silhouette Design Store.
Choosing the scale tool, select the wording and click on 'Fit to Stamp'. This will ensure your wording is a perfect fit to the stamp and no parts will be left out.
Once you are happy with your stamp, click on the leaf motif in the top right hand corner and send the image to the machine. Feed the stamp sheet into the back of the machine and wait for the magic to happen. The software flips the text automatically so there is no need to worry about that.
Remove the cardboard surround and peel the black sheet away. Remove the paper from the white stamp block and attach the stamp to the block.
Using the ink, apply liberally to the grey area of the stamp and wait for a few minutes to give it a chance to sink in
Take a scrap piece of paper, stamp away the excess ink until you get a clean impression from the stamp
The stamp will be good for 50 or more impressions before needing to be re inked.
I have really enjoyed sharing with you and can not wait to see what stamps you come up with!
Designs Used
Miss Elizabeth font by Miss Kate Cuttables - Design ID #193789
Products Used
 |  |  |


No comments:
Post a Comment