Hi again Silhouette Fans! Niki here today with a tutorial about how to curve text. I've done this before but with a simple circle, however it will work with any shape so today's project uses a large heart. The technique is the same but with a shape that has a dip, like at the top of the heart, the text will need a little tweeking...
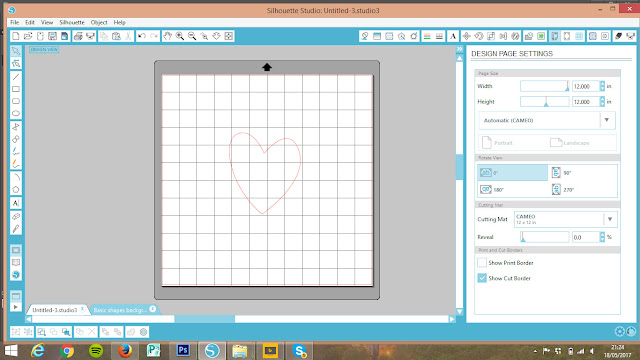
So to begin with I opened up a file I already had in my library, ungrouped and just kept the heart I wanted.
I then wrote out my text. I've chosen Ballerina Script (one of my favourites).
I left the text all grouped together and looked for the green box that appears around text when you first type it out (if you've clicked off and lost the green box, simply click onto it a few times and it will reappear). Once the green box is there, there is also a little circle with a cross in the centre. Pick up the text by clicking on that circle and move it over towards your shape - it should automatically jump on to it. The text is now around the heart shape but doesn't look right becaused it's bunched in the middle in the dip of the heart and it doesn't stretch around the whole heart.
To solve this problem, i adjusted the 'character spacing' which is a slider bar within the Text Style window. I played around with this until I was happy with how the text looked.
Now that the text is in the right place, I ungrouped all the words. This make the letters individual.
I then nudged the letters together so they overlapped, selected the letters in that word and clicked Weld. This made them one word, rather than several individual letters. I did this with all the words.
I then selected the whole of my design and clicked Weld. The purpose of this was for the heart to be welded to the letters BUT doing this took off the bottom of my letters. I tried very hard to solve this problem but had no luck! So I just went back a step to restore my heart with fully formed words
I then copied the heart and pasted on another two and arranged the three of them so they were all slightly overlapping each other, to form a scribble effect.
In my cut settings I selected the hearts. I drew two with sketch pens and cut the final one so there was a heart shaped hole in my white card. I then cut the words from another sheet of card so that I could arrange them onto my previous piece of card, with the heart-shaped hole.
And here is my finished layout. I backed the big heart with patterned paper and added a wash of yellow water colour paint around the edge, then added my white curved words on top. I love the result, it is so pretty and definitely a different way to add a title to my layouts.
I hope you've enjoyed this project and will have a go at curving text around different shapes.
Happy scrapping xx
follow me on Instagram: @nikiclaire
DESIGNS USED:
 |
 |
 |
 |


No comments:
Post a Comment