
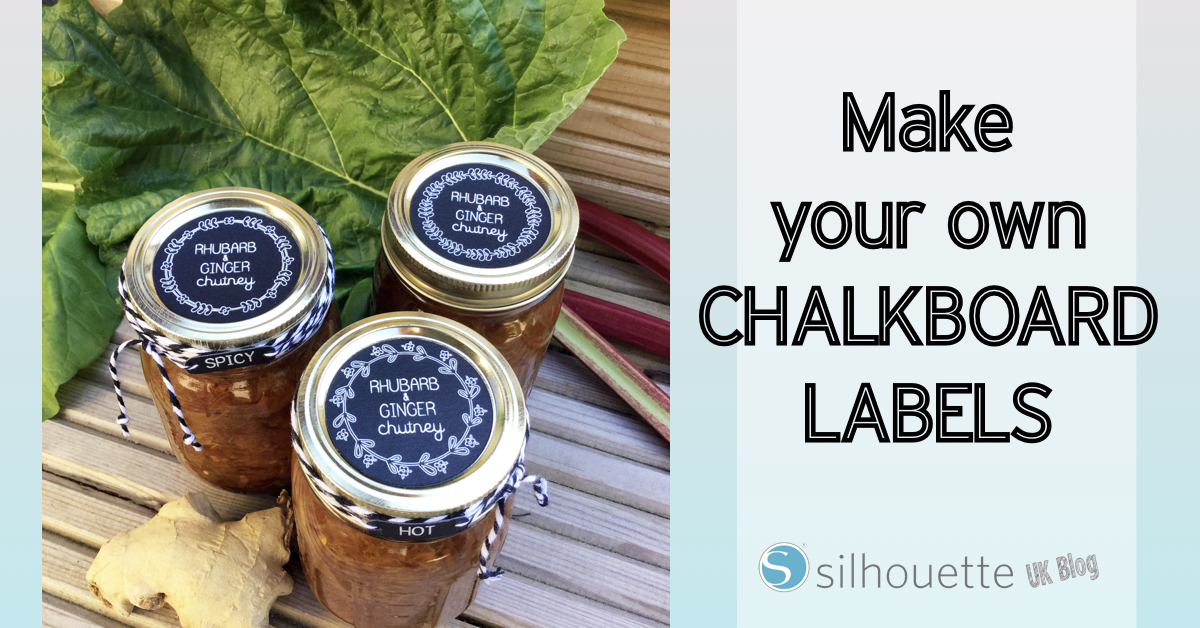
Hello again. Janet here with a quick and easy project to decorate preserve jars. I love to make use of the things we grow in the garden, and when I made a hot and spicy chutney with home-grown rhubarb and fresh root ginger knew I wanted to 'prettyfy' the jars to give some as gifts. Regardless of whether you make or buy the preserves, a decorated jar makes a lovely gift. I'll show you how I made the labels with my Silhouette® CAMEO 3, Chalkboard Cardstock and a favourite gel pen in the Silhouette Pen Holder.

What You'll Need
Silhouette Chalkboard Cardstock
White gel marker pen
Silhouette Pen Holder
Double-sided adhesive tape
Baker's twine
Lori Whitlock's Circle Monogram Frames (e.g. #192907, #192922, #192910, #192919)
Rivka Wilkins' Sisters Sketch Font (#76091)
INSTRUCTIONS
STEP 1: Prepare the Lid Stickers
Measure the indent in the jar lid and draw a circle of the same diameter in Silhouette Studio using the Ellipse Tool (hold down the Shift key on your keyboard to ensure that it is round). Open your chosen circle monogram and re-size it to fit within the circle.
Using the Sisters Sketch font, write the preserve name adding returns to make new lines where required. From the Text Style Window, adjust Font Size, centre justify your text, and adjust Line Spacing and Letter Spacing to suit.
SKETCH FONTS: It is preferable to select a sketch font when using pens with the Silhouette. When pens draw letters, they usually draw around the edges (inside and outside). They are technically outline fonts, describing a filled vector shape. Sketch fonts have a smaller or no space between the inside and outside of the letter outline. True single line fonts, also known as stroke fonts, describe the stroke rather than the area enclosed by it. To judge how your chosen font will look when drawn, colour the text lines, and make the fill clear. The thickness of the line will be dependent on your pen tip width, rather than the line thickness you select. It is possible to fill ordinary fonts with fill patterns, or successive internal offsets too, but it can be tedious to achieve a pleasing effect.
Adjust the design Page Setting to reflect your media - Silhouette Chalkboard Cardstock is US Letter-sized. Duplicate and arrange your stickers to fit. In order to use the cut settings based on line colour, set your outer (cut circles to one colour - red) and the sketch parts in another (black).

STEP 2: Preparing to Cut
In the Cut Settings select Cut by Line.

CHALKBOARD CARDSTOCK - For the cut lines select the red lines ensuring the red circle is selected (matching the AutoBlade located in the red marked blade holder). Select the required media (There is no option for Chalkboard Cardstock in my software, but Adhesive Cardstock is a similar media). Click on the media type and ensure the AutoBlade is selected and make adjustment to thickness if necessary. (My settings are shown below - yours may differ so do check with a test cut).

PEN & PEN HOLDER - For the cut lines select the black lines ensuring the blue circle is selected (matching the pen & pen holder in the blue marked blade holder). Select the required media type (Silhouette Sketch Pen). Click on the media type and reduce thickness. (I find a lower thickness/pressure works much better with a gel pen, as too much pressure causes the ball point to cease rotating and can cause blotching and sometimes a line drawn across the sheet at the end of the drawing process).

Note: You might have noticed that I changed the line colour of the lower sets of labels to another colour (aqua) with the line colour unticked so that only the top row of labels would draw and cut. I used the undo button to reverse this temporary change after. Drawing and cutting one row at a time reduces the likelihood of smudging the ink before it has had time to dry.

STEP 3: Drawing and Cutting
Secure the pen in the pen holder and mount the pen holder into the blue marked blade holder. Send the sketch part to draw. The send the AutoBlade to cut out the circles.

Prior to using the sketch function, try to move the rollers to a position where they won't roll over the drawn ink, as this may cause the ink to smudge.

STEP 4: To Finish
Peel off the lid labels and centre them onto the lids. Place a piece of double-sided tape around the outside of the lid. Wrap baker's twine around the lid to cover the tape.
(optional) Thread the mini tags on to the twine (I used additional, thinner twine to do this). Knot the twine and the job is done.

Your gifts are ready.

I hope you enjoy this project, and that the recipients love their gifts.
Bye for now,

DESIGNS USED:
 |
 |
 |
 |
 |
PRODUCTS USED:

|

|

|
No comments:
Post a Comment